If you can type, drag and drop you can build a WordPress website.
As a beginning technology user in 2006, while initially intimidated, I found it was still doable to customize my own website. Today customizing is even more user friendly.
Step Three: Install your Platform ~
For WordPress, once you have your account set up your website is waiting for you to begin building it. If you use a host different from WordPress you will be walked through this process from the host.
Before this training takes you through more steps in building your website, you are welcome to watch this 15 min video from WordPress: Quick-Start Guide. Having this quick view might provide you with a general overview which will support your understanding of the wordpress dashboard.
This training has been built prior to the release of WordPress 5.9, which will allow full-site editing using blocks like those now used for posts and pages. You will not have to use full-site editing for your website.
Step Four: Build/Customize your site ~
There are different ways to begin to build the website. I prefer starting with selection of the site’s “theme”. Again you can change themes as your needs or desire warrants. I suggest to start with the simplest theme that meets your needs. You also want to be sure the theme works across all devices. WordPress lets you know what devices a theme works on and even provides an estimate of how it will look.
Whenever you need to get to your site’s dashboard from outside the site, you can type the domain in your browser’s url search. If you are in the site click “My Sites” in the menu bar and the dashboard opens. The dashboard works as a left hand sidebar.

To start your website you do not need more than your site’s title. You can come back at any time and set up the header, color, fonts, etc. WordPress will encouraged you to get the homepage in place so your site shows something when the domain is typed in.
What you need to activate your homepage is a “post”, even if it’s just a message like: Be watching for…., or We are under construction, etc.
We’ll get into the specifics on writing posts later. I want to just now step back and make some suggestions, so that you are able to get a new site active as quickly as possible.
I encourage you to have material typed up and ready to post. To do this you need to have an idea of what material you will be sharing on your site. This goes back to your purpose for your website. For my family child care business, I knew I was focused on sharing information required by licensing, so I had handbook, contract, fees, schedules, and philosophy all ready to go. If you have everything saved on your computer you can copy and paste from that. If you are all hard copy/paper then you will be typing up everything new. I use Google Drive to build and store my documents/materials. I’ve found it’s easy to develop everything there and then I copy and paste into WordPress posts and pages.
The following video shares about starting to build the “Growing Together” website:
Customizing Your Theme (38 min)
A video is helpful, but it can also be too much at once, so here are some information/highlight notes you can review:
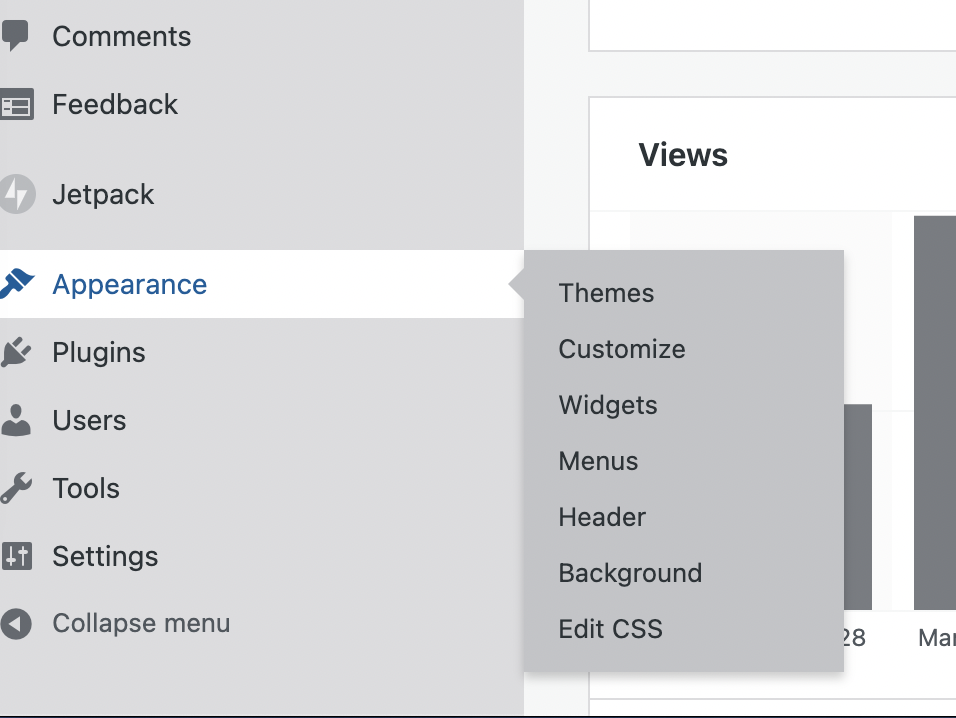
From your dashboard anything that has to do with how your website looks will be found under “Appearance”.
For new sites you should have a default theme as the current theme. You can work from that or change it out now.
Some themes are only available for premium plans, but there are plenty of theme styles available for the Free and Personal plans.
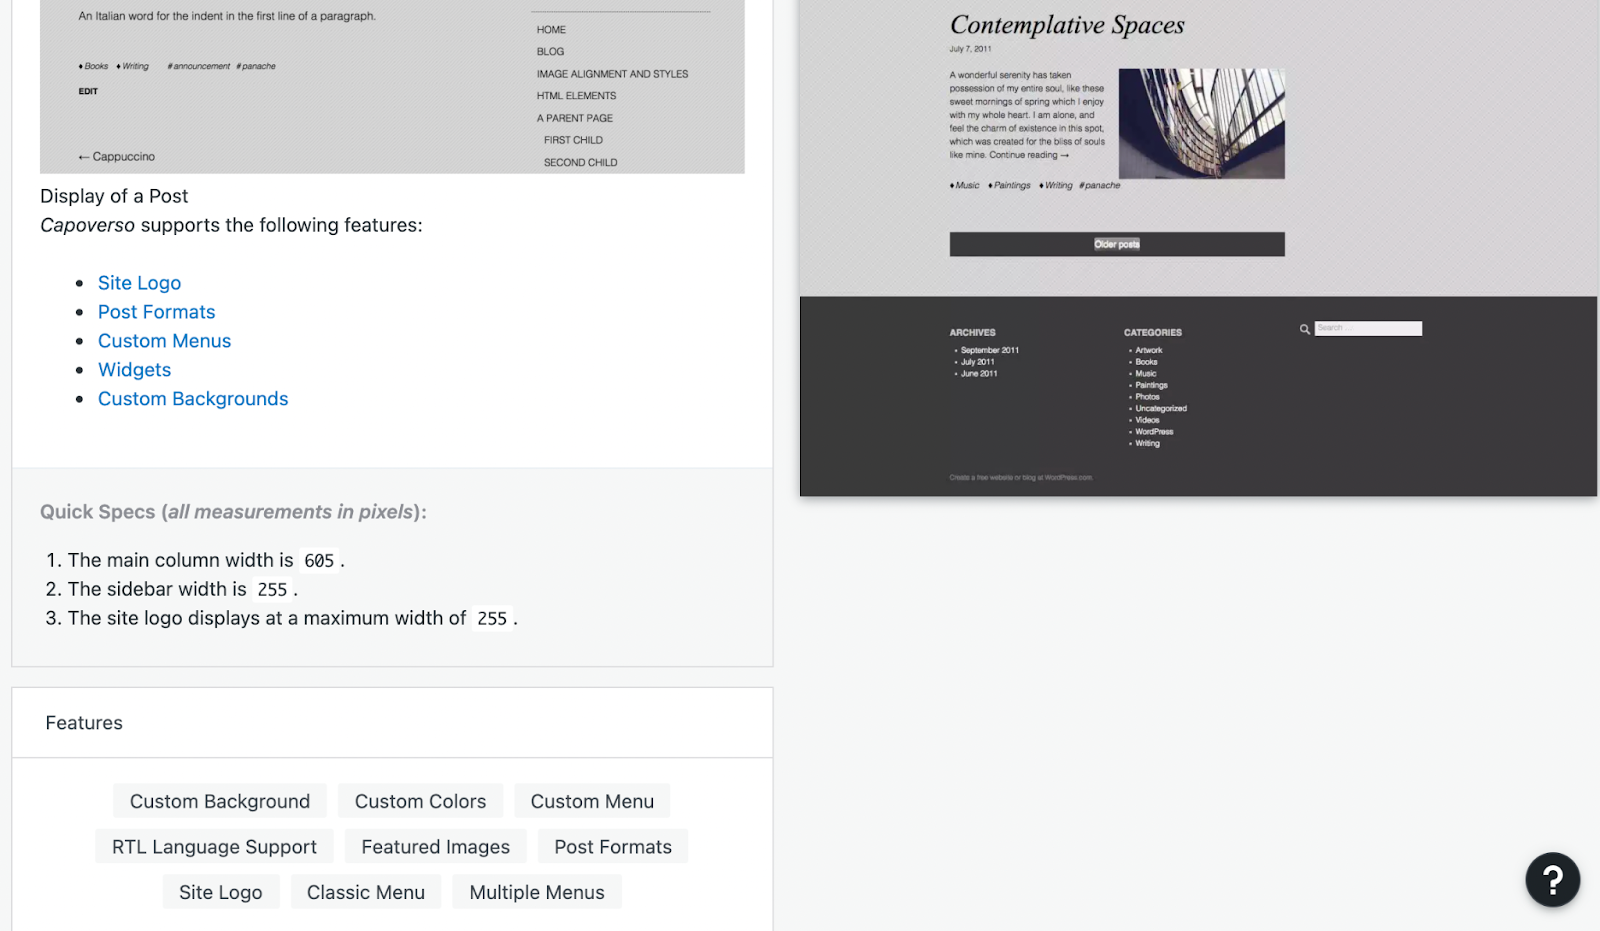
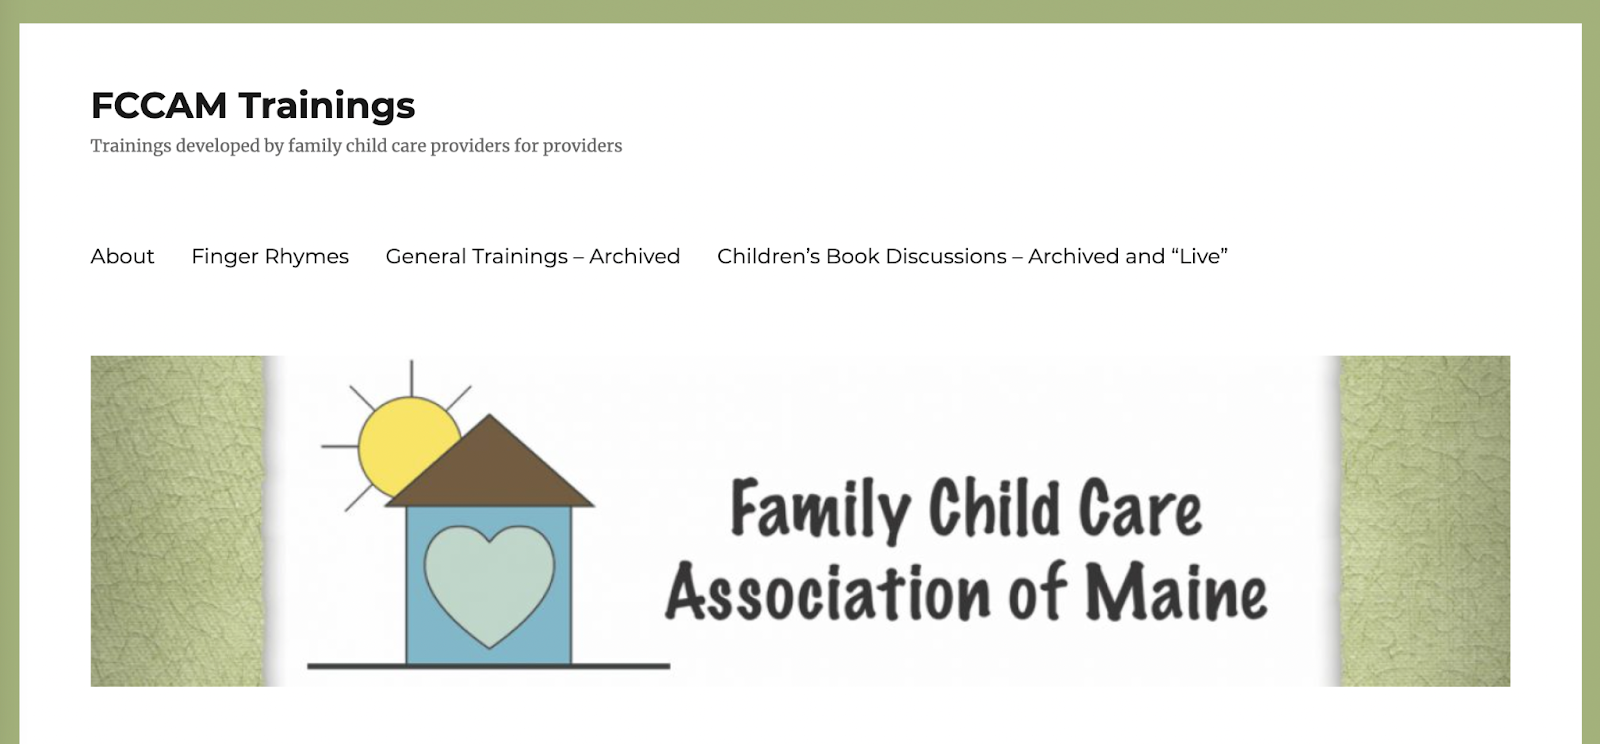
Scroll down to where you can access all themes and click that. You can now sort them out a bit more to meet your needs using “Filter”. Search by the feature(s) important to you. Themes with columns allow for a sidebar and footer along with the main posting. I encourage family child care programs to consider a theme that has multiple column options, such as “Twenty Sixteen” theme used for FCCAM Trainings, or “Scratchpad”theme used for FCCAM , or “Hemingway” used for the website we are constructing during this training – Growing Together Child Care (this is a free WordPress with the ads).
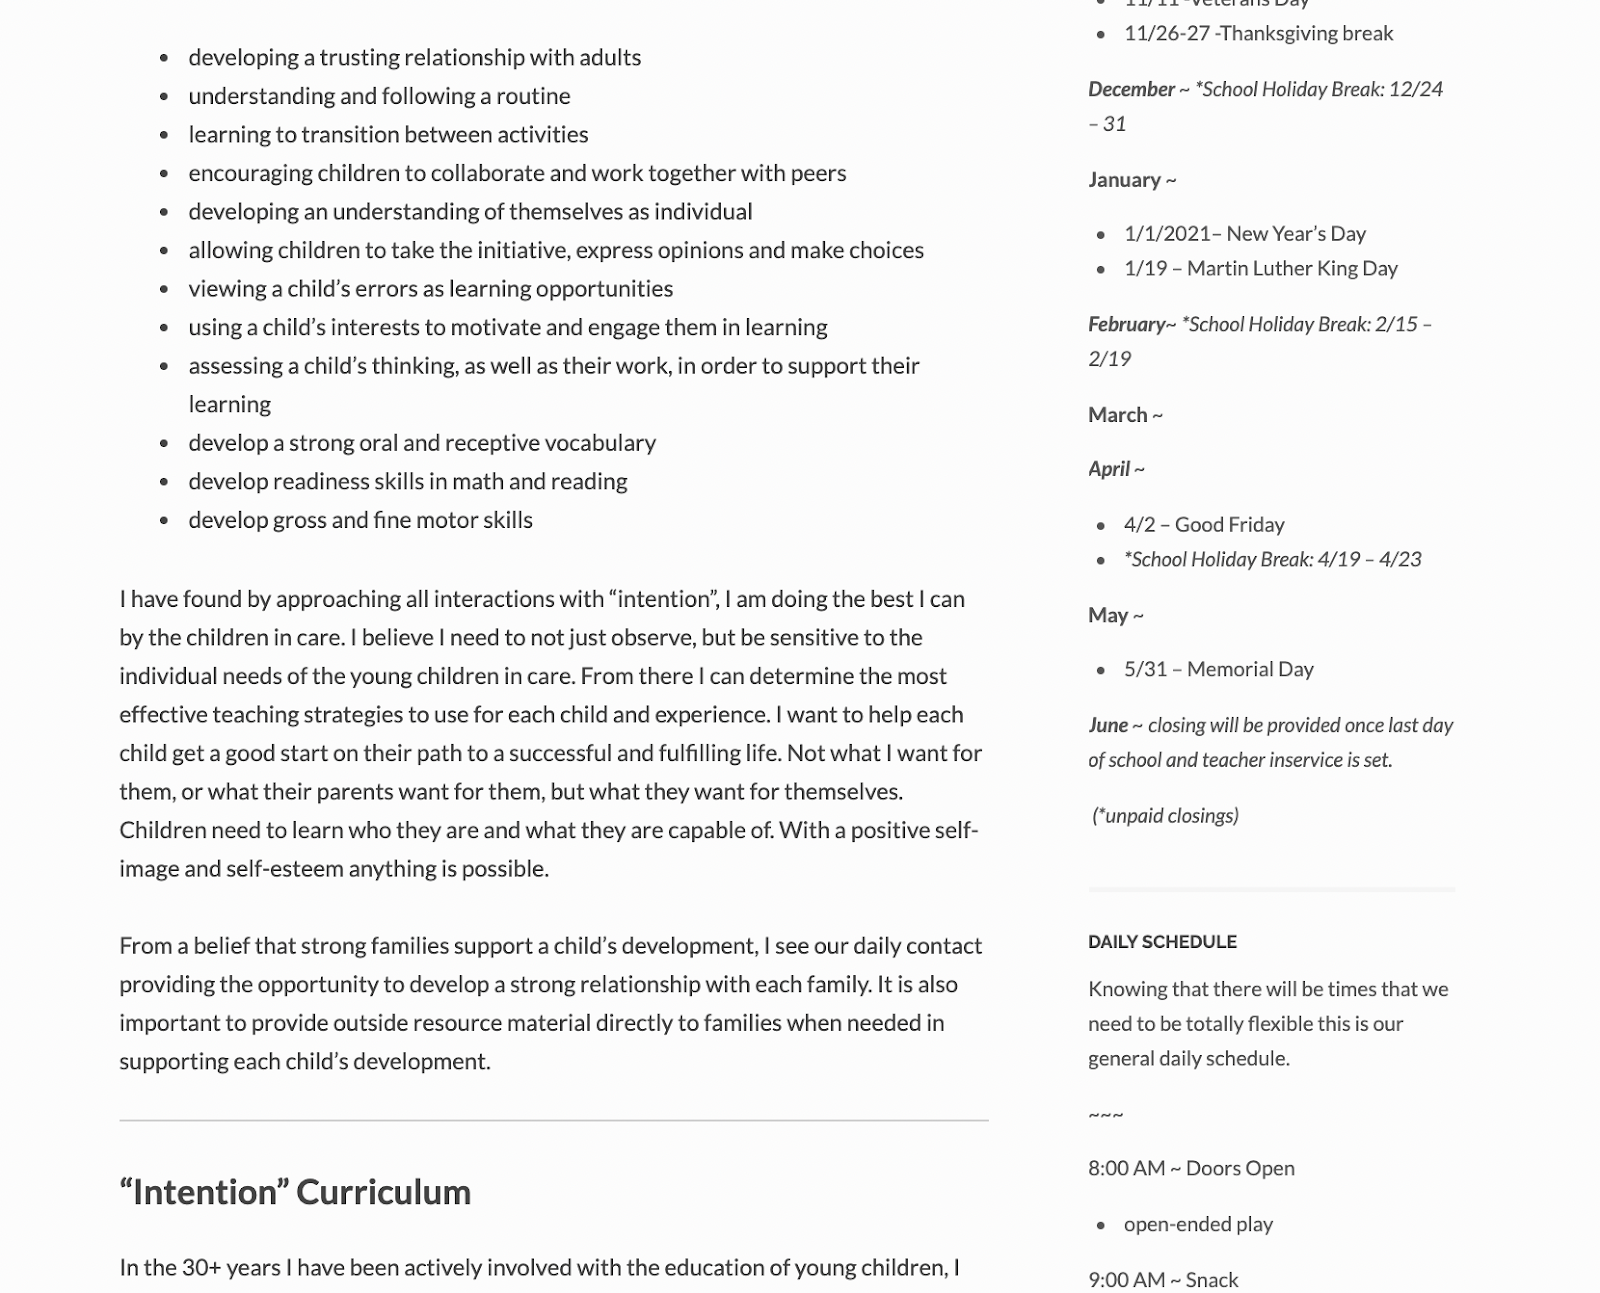
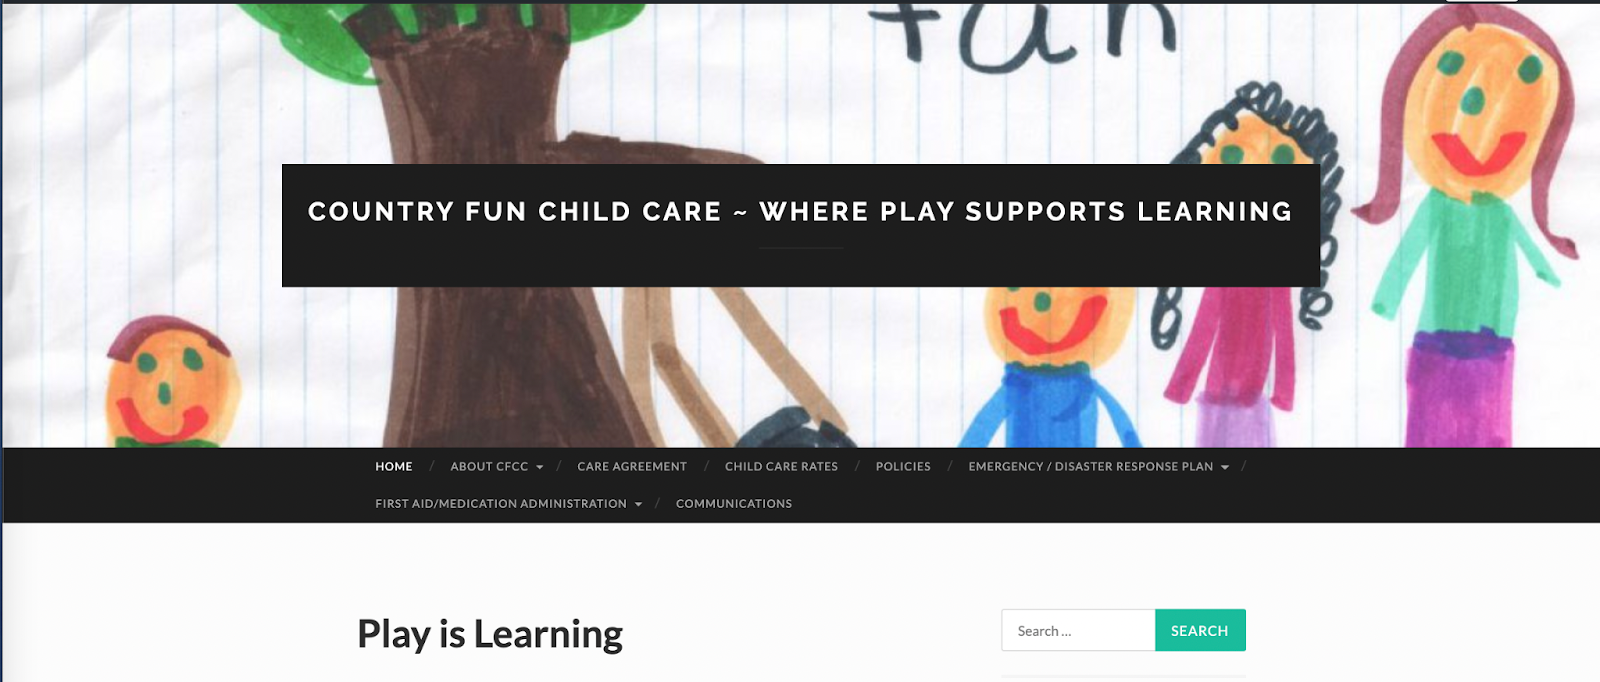
I find the structure of multiple columns allows a layout for sharing information that is easy to navigate especially for information that is regularly accessed. For a family child care this might be operation hours, vacation time, and daily schedule. Here’s an example from a sample fcc business site set up with 2 columns: main post and right sidebar. It also has a multiple column footer.
When you choose a theme you will have a chance to learn more about it. You can open a live demo to see what it might look like. DO NOT click “Activate” unless you are sure it’s what you want. If you are switching themes “Activate” wipes out your previous layout. Not your posts and pages, but the layout. When switching themes, I suggest to take a screenshot to save what my current website looks like. That allows for more easily getting everything replaced.
At the end of the page describing the theme you will see what the site supports, what flexibility columns have, and features in general. You never have to use all the available features, but you cannot add missing features.
Once you chose your theme you can start to build/customize it. I’ve found that it’s the setting up of my theme that took me the most effort/time. I explored, tried example, re-explored, tried another, etc. until I found a layout and brand look I liked. While you can always change themes, I think it’s better for your brand to try to find one that you think will work for a while. That the image and title can carry over in a change. That colors are ones you like.
I’ve played with multiple websites since 2006 and do not know all the ins and outs of all the variety of themes, but the simpler themes always worked fine for my needs. Each website I’ve built has had different purposes, so different looks. For a family child care business the focus might be on providing information on the program to families and potential clients, meeting licensing requirements, QRIS requirements and to go as paperless as possible. Or maybe it includes daily postings on activities from that day, books read, meal menu, etc. Again it’s about purpose!
To begin customizing your theme find “Appearance” in your dashboard. Click “customize” and you will see the sidebar dashboard that works for your theme. You can also work directly from the website image if you see editing buttons on it. You can click on those editing buttons and the correct part of the dashboard will open up, so you have 2 ways to navigate. Whichever best fits your navigation style.
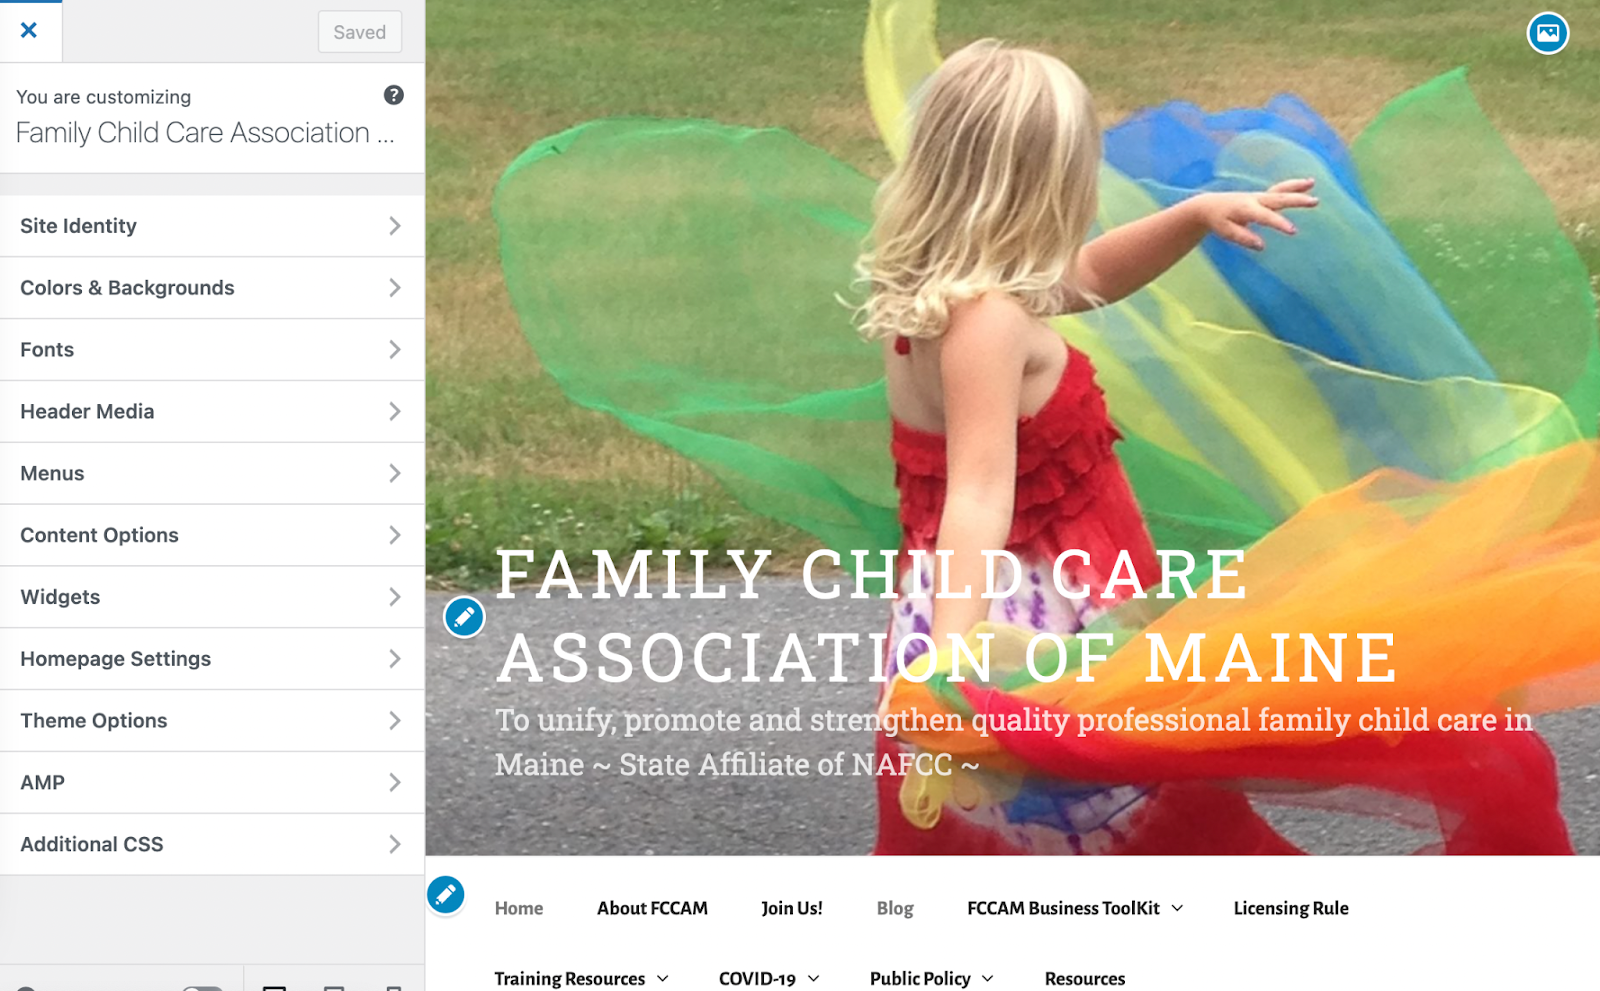
Site Identity is your title and tagline. You can also use a logo image here. To edit just type what you want in the provided box and it’s placed for you. Like what you see? Always click “Save” found at the top of the dashboard.
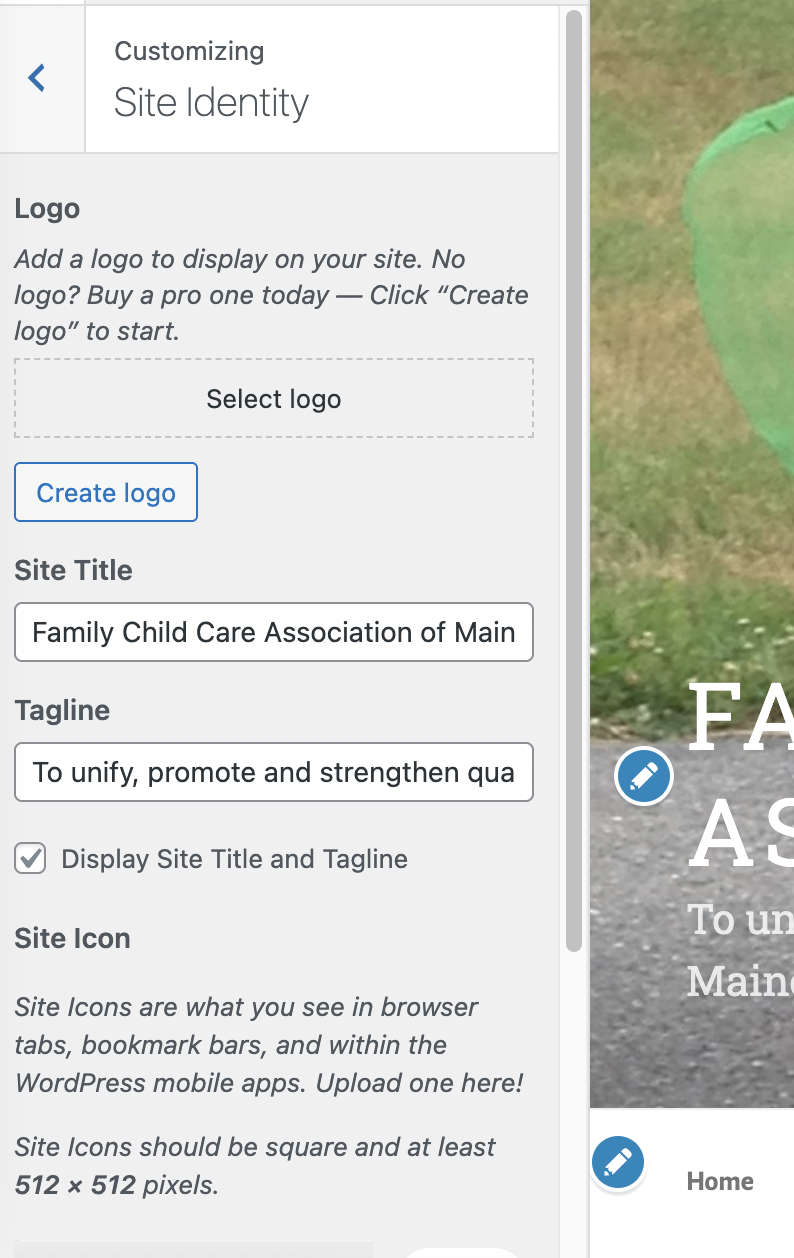
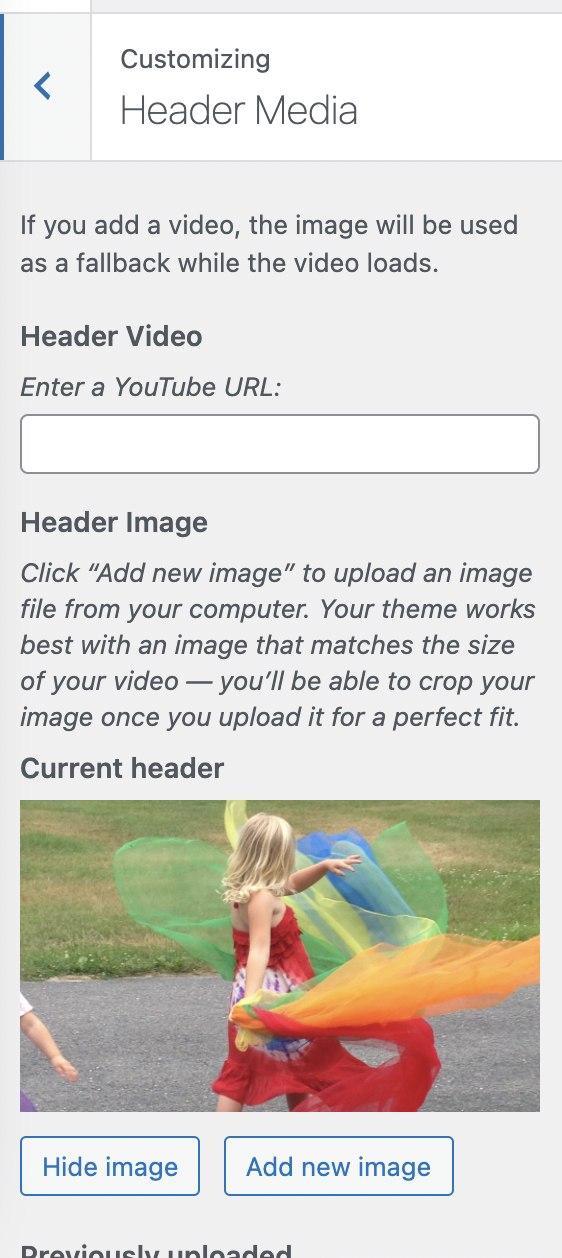
I usually don’t use a logo here, but save for the header. Examples:
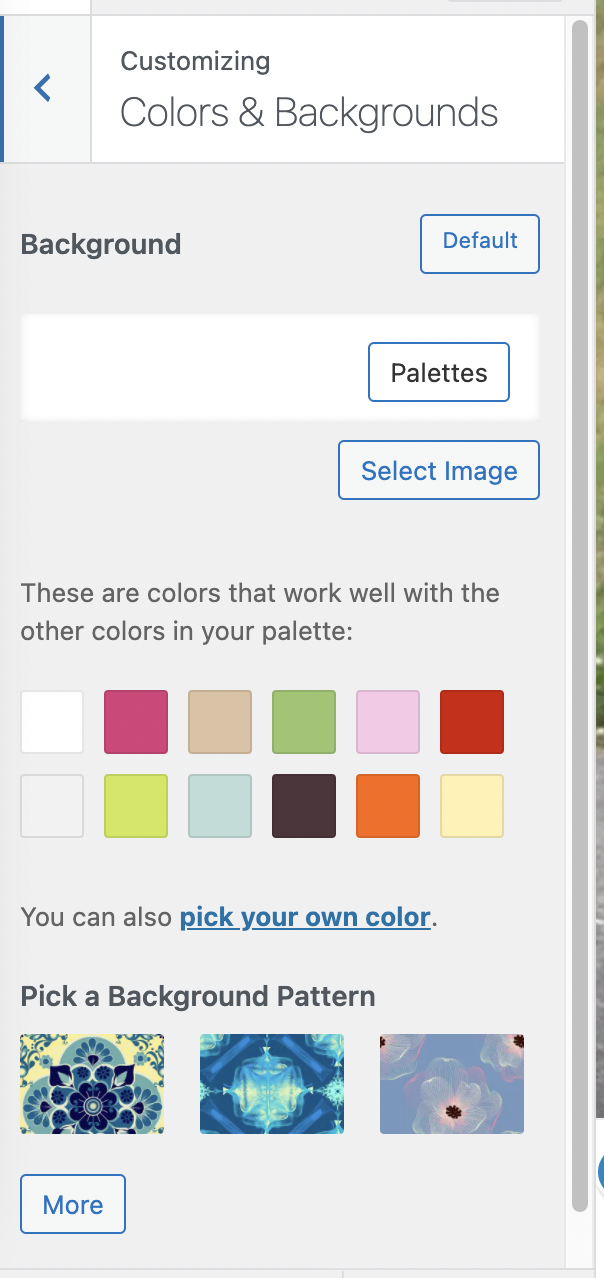
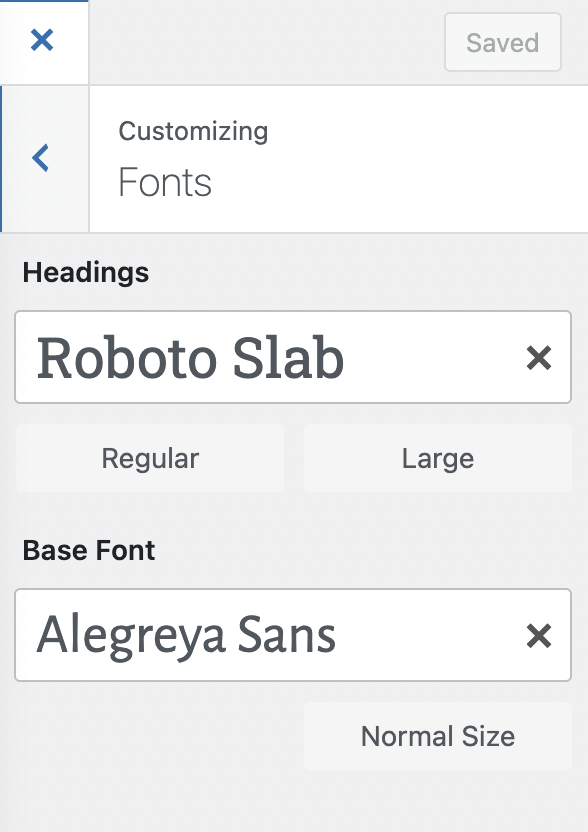
While the dashboard sections are the same the parts that can be edited may differ for each theme. Most themes you can edit your color palette, font, and header.
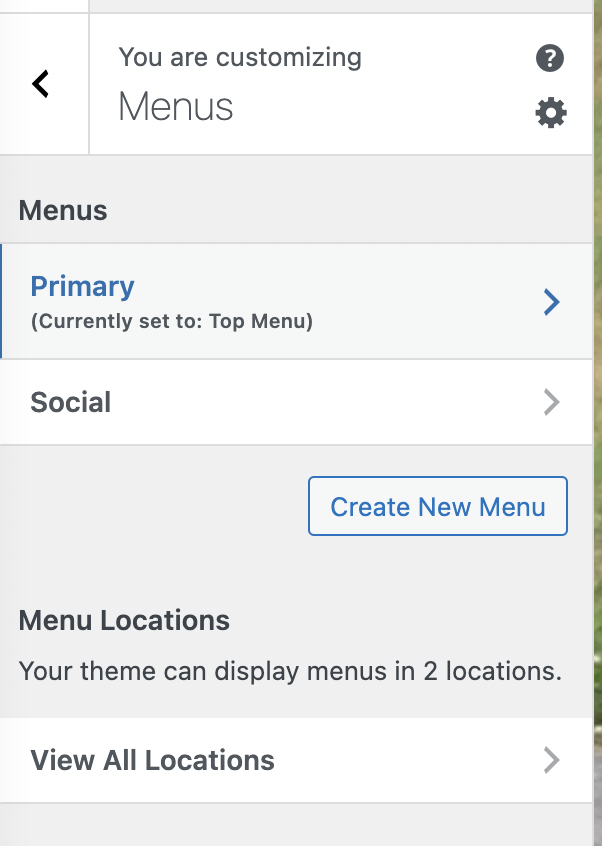
Site Menus are the list of links that are usually displayed as the main navigation for your site. Your Menu is built from pages. In this part of the customizing you are deciding on location of your website’s menu. I recommend to choose a top of website placement for your primary menu. This is easy to see when a site opens on any device. On the basic sites I’ve worked on I’ve never found the need for a second menu.
Homepage is how your posts are viewed and what visitors see when they land on your page.
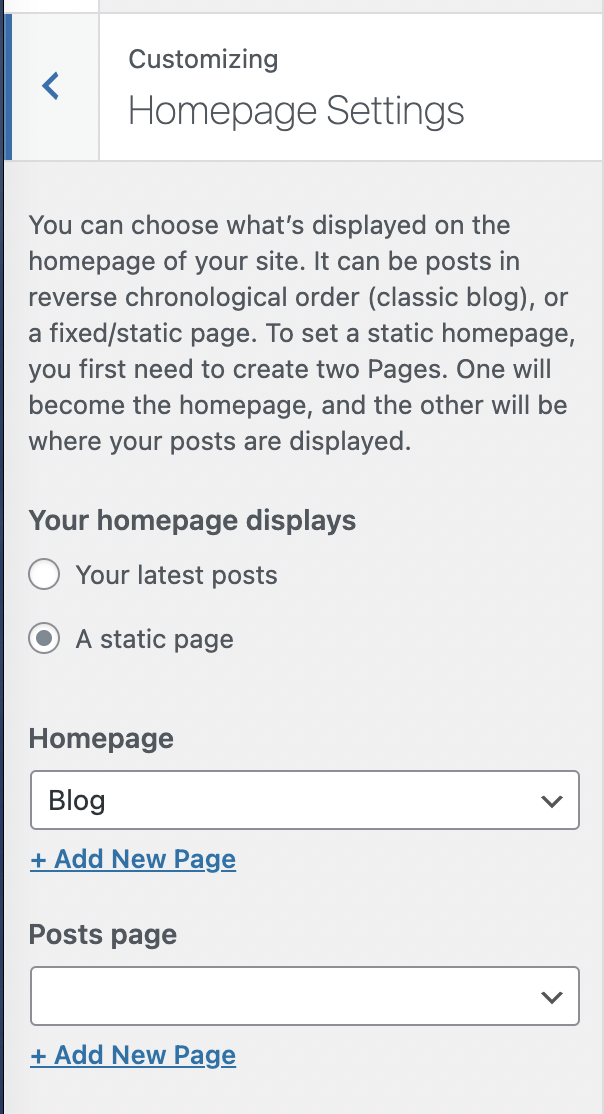
I use the Blog style for homepage. It allows multiple posts to be scrolled through or be totally static. Here’s how to do that: Getting a Homepage.
If you use a sidebar and/or footer you will need to become comfortable with “Widgets“. The platform does the coding.
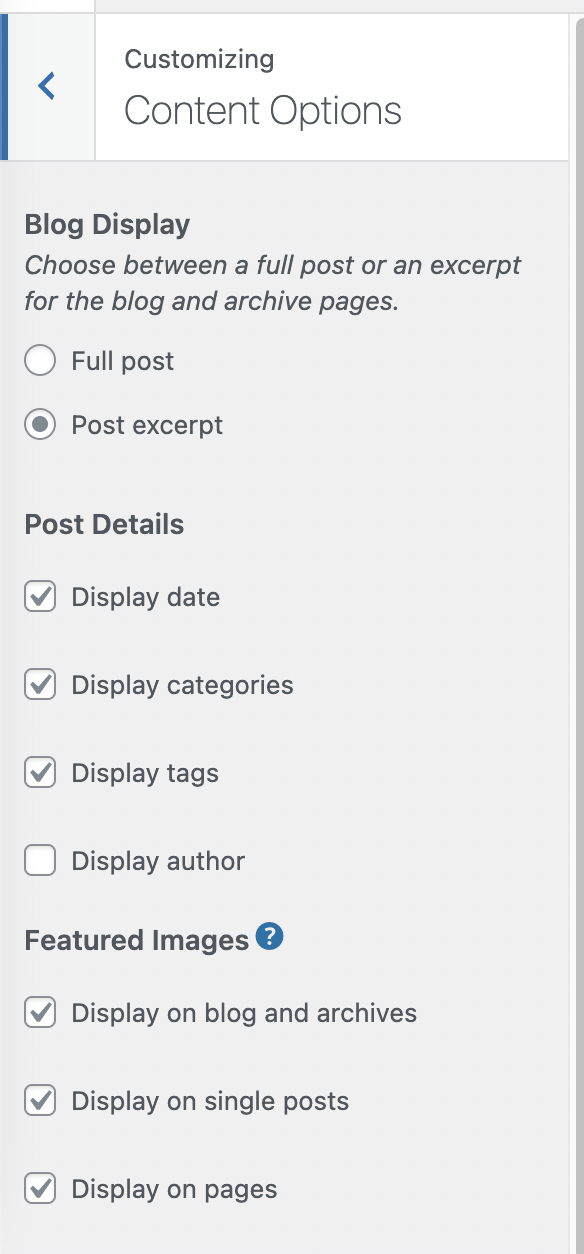
Further customizing options include how your posts are shared/viewed – Blog Display. To save space with multiple posts viewers scroll through go with post excerpt. This just provides the first few lines of your post with a “read more” link. For “static” you will probably find the full post is a better option.
On to exploring the Dashboard, posts and pages.
